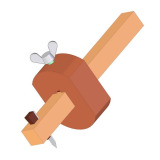
Here we are presenting a woodworking project that will allow you to quickly create a simple and practical cutting gauge hand tool.
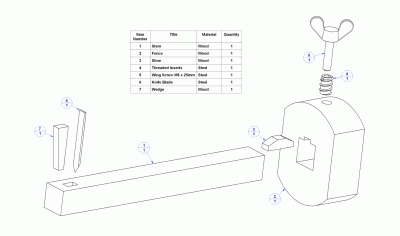
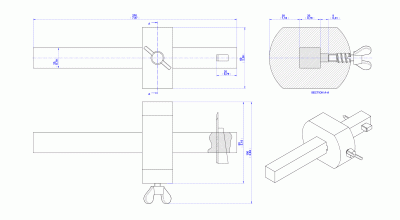
Cutting gauges (slicing gauges) are very similar to marking gauges, but instead of a metal spur, the stem carries a small knife blade held in position by a wedge. In the drawing the fence is fixed to the stem, using a M6 wing screw as a locking screw.

60mm (2.36'') x 100mm (3.94'') x 200mm (7.87'')
The cutting gauge is used for scoring deep lines parallel to the edge, especially across the grain when marking long shoulders of joints. It can also be used for cutting the sides of small grooves, or for splitting thin wood into strips. Cutting gauges are characterized by precision and ease of use and can be used instead of marking gauges. You cannot, however, use a marking gauge instead of a cutting gauge because marking out a line across the grain using a marking gauge will give poor quality of the indentation line.
For best results the blade must be periodically removed and grinded to a sharp edge.


Using the cutting gauge
Set the distance from the blade to the fence, and tighten the wing screw. To tighten the blade tap the top of the wedge with a small hammer or a piece of wood. To loosen the blade tap the end of the stem, and remove the blade with your fingers.