On this page you can download the plan for making simple collapsible boxes. The plan includes drawings for making 1- and 3- compartment boxes.
The box has a very simple construction, it can be made very quickly and used for various purposes. If you need a compact box, glue the parts together. If, however, you consider it preferable to be able to dispart the box, then do not use any glue. Keep in mind, though, that it may fall apart when handled.
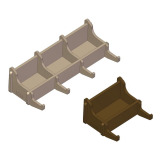
Size of the completed single compartment box according to our plan are: Length 127mm (5''), Width 114mm (4 1/2'') and Height 71mm (2 13/16'')
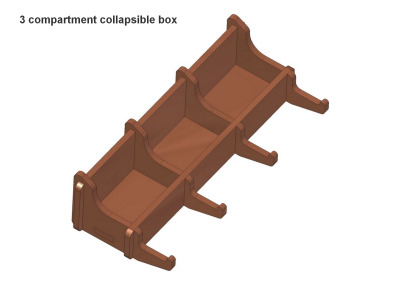
Size of the completed 3-compartment box according to our plan are: Length 264mm (10 13/32''), Width 114mm (4 1/2'') and Height 71mm (2 13/16'')
All the parts are made of 6mm (1/4'') thick plywood. The design of the front-facing side part is hook-shaped, so you can use it to hang all sorts of things if you mount the box to the wall. Since the creation of these collapsible boxes requires precision, it represents an ideal exercise in wood-working for young carpenters, whereby they will make a practical box that will certainly come in handy in the workshop.
The length, height and width can be changed to suit the purpose for which the box is intended.
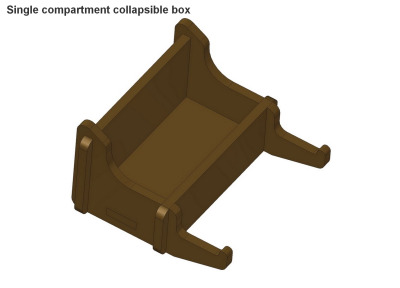
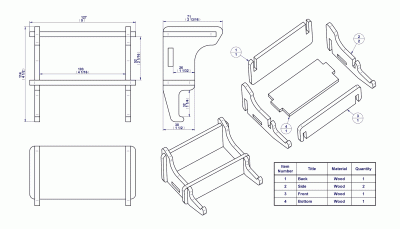
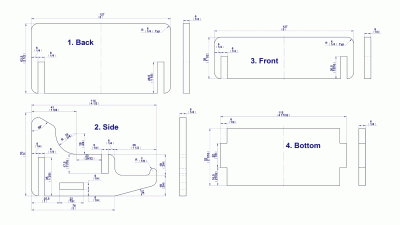
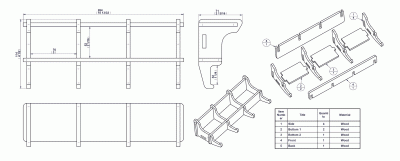
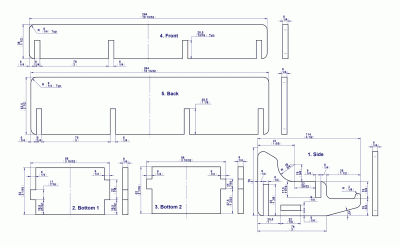
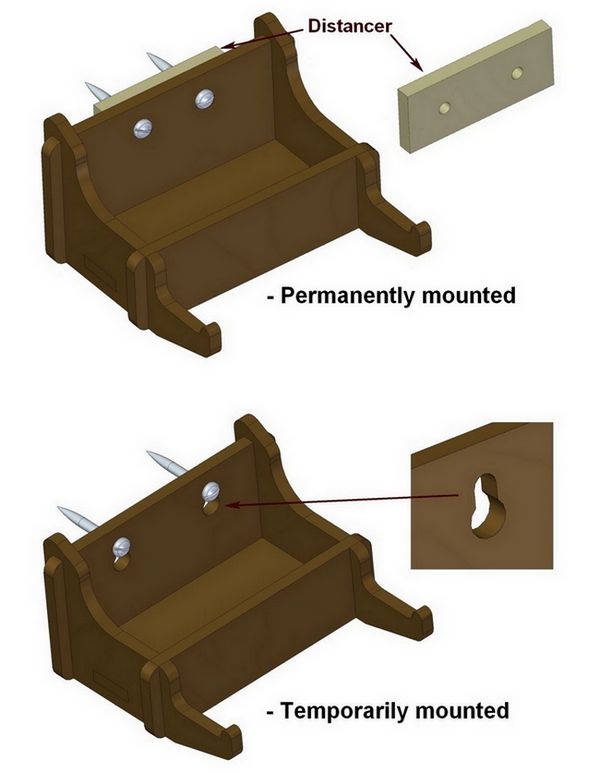
We encourage you to study the drawings first in order to fully understand the structure and then to create a box of the size and compartment number to your liking. The box can be held on a horizontal surface (workbench, shelf…) or attached to a vertical surface. There are two ways to mount it on the wall:
- permanently - in this case, you must use Part 5 as well,
- or temporarily - in this case, the box will be hung on the wall and, if necessary, easily demounted and taken somewhere else.
In the picture below you can see how this can be achieved.
