In addition to the drawings for making push sticks on this page, we also offer drawings for several push block variants.
Push blocks have the same role as push sticks (notched and shoe style push sticks), but they are more applied when using machines such as jointers, shapers, router tables, etc. There is a number of types of push blocks. Some of them have universal use, and some are specialized for certain operations on various machines. Both the push sticks and push blocks are usually used in combination with the feather boards.
A push block is a flat board with a top-mounted handle that allows the user to maintain downward pressure.
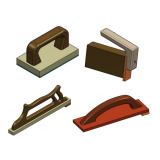
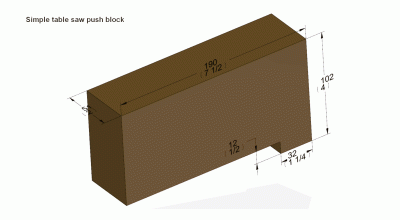
Simple table saw push block: L 190mm (7 1/2'') x W 51mm (2'') x H 102mm (4'')
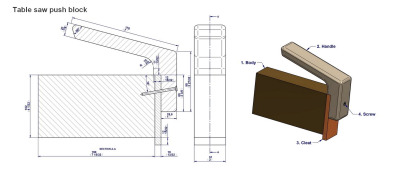
Table saw push block: L 225.5mm (8 7/8'') x W 51mm (2'') x H 184mm (7 7/32'')
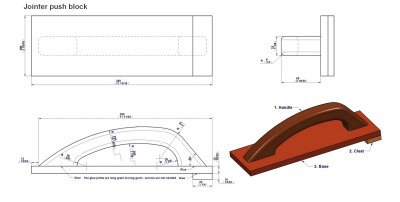
Jointer push block: L 300mm (11 13/16'') x W 100mm (3 15/16'') x H 87.54mm (3 7/16'')
Push block for face jointing: L 381mm (15'') x W 89mm (3 1/2'') x H 107mm (4 7/32'')
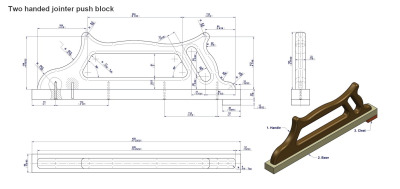
Two handed jointer push block: L 450mm (17 23/32'') x W 40mm (1 9/16'') x H 157 mm (6 3/16'')
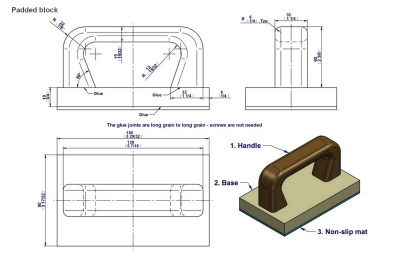
Padded block: L 150mm (5 29/32'') x W 90mm (3 17/32'') x H 82 mm (3 7/32'')
Feel free to adjust the push stick dimensions given in our plans to suit the best your needs.
Table saw push blocks are suitable for longer boards, Keeps the workpiece under control through the entire cut.
When jointing the edge of a workpiece, there are three actions that you must perform simultaneously.
- Apply consistent downward pressure on the workpiece.
- Apply consistent lateral pressure on the workpiece
- Apply pressure to the end of the piece to feed it through the jointer.
The simple jointer push block fulfills all of the three demands and can be a very useful tool in your workshop. You can also use it on the router table when routing a workpiece on edge.
When flattening the face of a board, an additional problem occurs - there is no safe place for you to hold the workpiece and push it over the cutterhead, which means that the making of this push block is very important for your safety.
When flattening the face of a board, pressure must be applied in two directions:
- Forward- to push the workpiece over the cutterhead
- Downward- to keep the workpiece flat against the jointer table.
One of the most efficient ways to work with the jointer is to use the push block to maneuver the workpiece toward the cutterhead and the padded block to hold the workpiece down in order to prevent bouncing. This method is excellent for face jointing, while for edge jointing the shoe style push block can be used.
