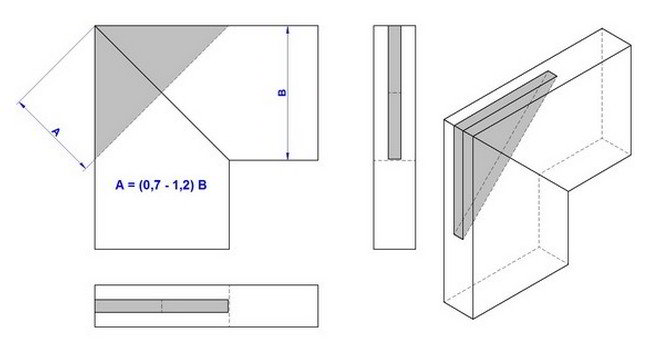
The miter joint is sometimes strengthened for box work and the like by fitting a spline or tongue with the grain running across and not lengthways of the joint.
This, properly glued under pressure, makes a good joint and one much superior to the plain mitre.

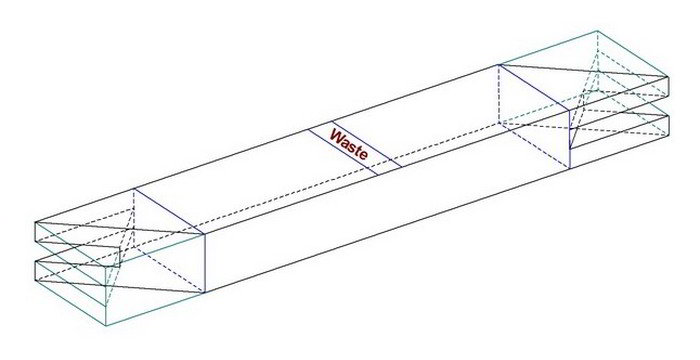
As in making the other woodworking joints, it is best to keep the stock in one long piece until the construction work is finished.
Measure the exact width of the piece and lay off, near one end, a perfect square, having as its sides two pencil lines and the two opposite edges of the piece. ( It is not wise to measure from exact end of the stock, even though it is square, as it makes the work of sawing more difficult.) Continue the two pencil lines around the piece with the try square until they meet on the last corner. Repeat this construction on the other end of the piece.
Using the edge of the try square as a straightedge, with a sharp knife draw one diagonal in each of the squares thus constructed. Be very careful to make the diagonals on the opposite sides agree with each other. The work will then be ready for cutting out.

The work of sawing at an angle of 45 degrees is exactly the same as in squaring an end, except that it is a little more difficult to hold the work and start the saw correctly. When the sawing is finished, part of the knife lines should remain. The ends should be smoothed to a perfect surface with the block plane.
Next, measure the required length of each piece from the acute angle and separate the pieces. To test the work, place the two halves of the joint together in the inside angle of the try square. If they do not form a perfect right angle, examine them carefully and find out what is wrong. If they require trimming a little more with the block plane, work them separately. Never try to plane them both at the same time. A sliding T bevel is a useful tool for testing these angles. It can be set to agree with the lines before the joint is cut out and then used later on to test the finished work. The work of constructing an angle of 45 degrees is explained fully here because a woodworker must understand it. If he has a sliding T bevel, he can set it to the angle thus constructed and use it in the same manner as the try square for constructing the second half of the joint.
Fastening: The thin piece which is set into the corner is called a feather spline. The joint is held together in the vise or with a clamp, and cut is made across both parts of the miter joint at the same time at right angles to the miter joint. The cut can be made with a coarse ripsaw, if one is on hand, or by making two cuts with the backsaw. The spline is made by ripping a thin piece from the edge of a block. For convenience in planing, the piece should be considerably larger than the required finished dimensions. Next, both faces of the joint are covered with a thin coating of glue. The inside of the cut which is to receive the spline is also coated with glue. The joint is then put together and clamped until the glue is dry. The clamps are then removed and the surfaces cleaned by taking a light shaving from them with the plane. Clamps should never be applied directly upon a finished surface. When the miter joint is glued, a thin piece should be placed on each side of the work. The clamp is then tightened and the joint driven together with light blows of the mallet. The grain in the spline hould be at right angles to the miter. After the glue is dry, the projecting ends of the spline are cut off flush with the surface.

