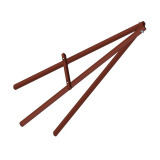
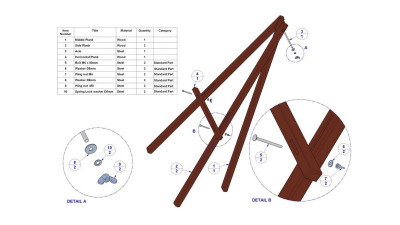
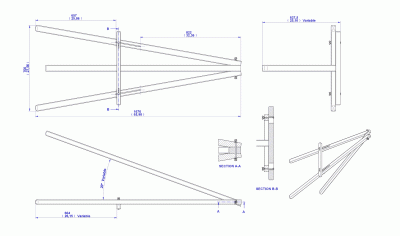
The easel that we present in this plan is tripod type of easel - it has three legs which are connected at the top with the bolt.
Although it can be used as a traditional easel for painting and drawing, we think that it is more suitable to use it as a display easel. If you want to make a professional tripod easel to use for painting, you can download the Folding tripod easel plan from our website.

This is one of the simplest easel models that you can make for a very short time in your workshop. To stop it from splitting the legs, you can connect the rear leg with rope with crossbar part. This tripod easel design has a movable crossbar that can regulate the height onto which you wish to put the painting. When using the easel, loose the bolts first, set it upright and spread its legs to get it into the desired position. Then tighten the bolt on top and adjust the height of the crossbar part and tighten the bolts.
Since this easel has very simple construction, you can easily adjust its dimensions to be the tabletop easel, or to be suitable for your children. Besides that, this easel can be completely disassembled, so it is convenient for the fairs and exhibition transportation.


If you wish to use this easel outdoors, we recommend using the galvanized fasteners. You can use many types of wood for the parts manufacture. Since the parts are long, it is important that the wood does not have knots, because the part with knots can break easily. At the end, you can coat the easel with lacquer or wax.