In front of you, there are drawings that will allow you to make several variants of push sticks (notched push sticks and shoe push sticks).
Push Sticks have two roles:
- to control the movement of a workpiece during machine processing (reducing the risk of kickback)
- to keep your fingers away from blades and cutters.
Push stick is a safety device that helps you to control movement of working piece when operate on some of the machines, especially when working on table saw, jointer, router table or a band saw. Push stick keeps your hands away from machine cutting zone, it also helps to produce a smoother cuts. It is especially useful for feeding narrow stocks across the table of a woodworking machine. Safety precaution while working around machine blades can be increased, if you use a feather boards and clamps together with the push stick.
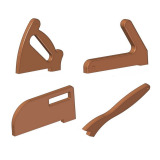
Notched push stick: L 313mm (12.34'') x W 56mm (2.2'') x T 19mm(0.75'')
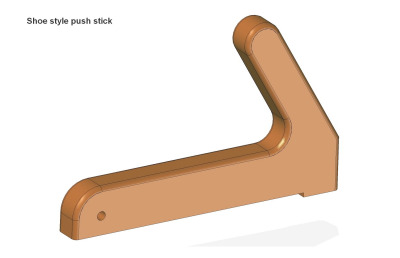
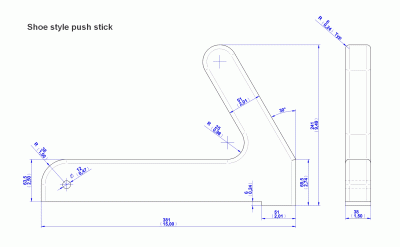
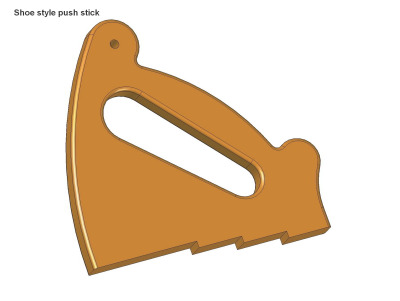
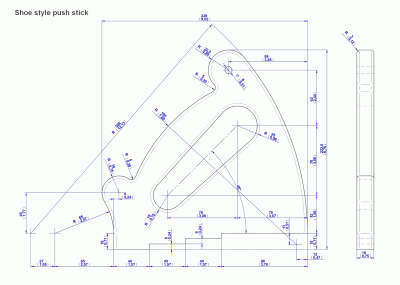
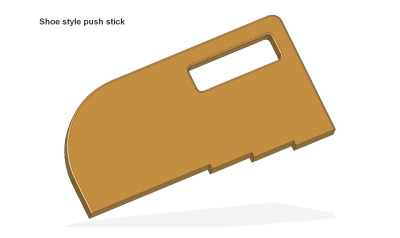
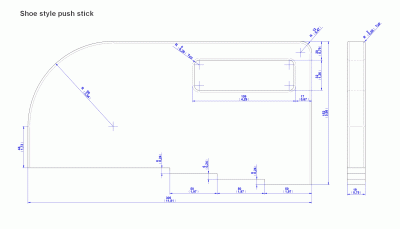
Shoe push stick 1: L 381mm (15'') x W 241mm (9.5'') x T 38mm(1.5'')
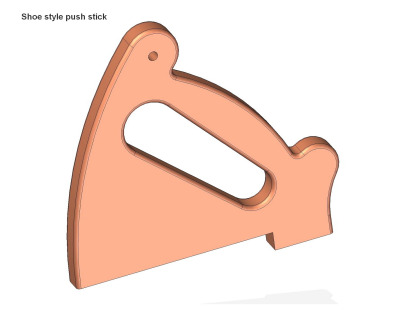
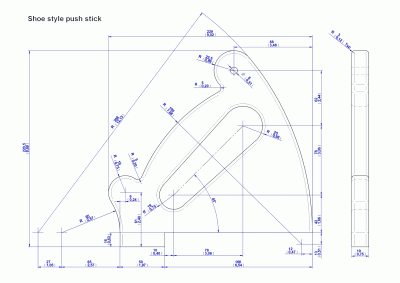
Shoe push stick 2: L 229mm (9'') x W 220.5mm (8.68'') x T 19mm(0.75'')
Shoe push stick 3: L 229mm (9'') x W 222.5mm (8.76'') x T 19mm(0.75'')
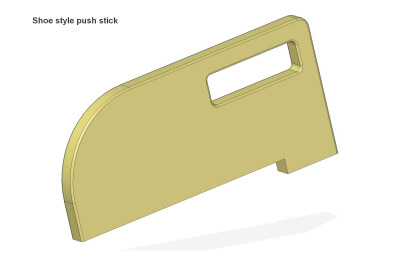
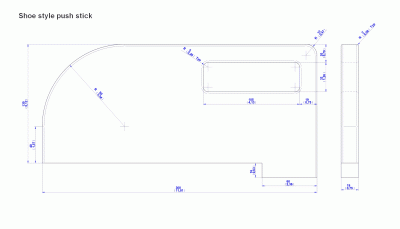
Shoe push stick 4: L 300mm (11.81'') x W 146mm (5.75'') x T 19mm(0.75'')
Shoe push stick 5: L 300mm (11.81'') x W 152mm (5.98'') x T 19mm(0.75'')
Feel free to adjust the push stick dimensions given in our plans to suit the best your needs.
You can build push sticks from any kind of straight and clean wood, even from a scrap wood such as piece of plywood. Woodworkers make them usually from wood, while the commercial ones are made mainly of plastic. There is a large number of high quality push sticks on the market that you can purchase. However, their quality is no better than the quality of the ones you can make yourselves from scrap wood in your workshop. Push sticks are used as safety devices during processing on almost all woodworking machines, mainly when working with: table saws, router tables, jointers i band saws.
It is desirable that you dispose of several types of push sticks in the workshop (for different machines and of different sizes) and that you always keep them within your reach. For your safety, it is very important to create a habit of using the appropriate type when operating the machines.
There are two types of push sticks: Notched push sticks and shoe push sticks.
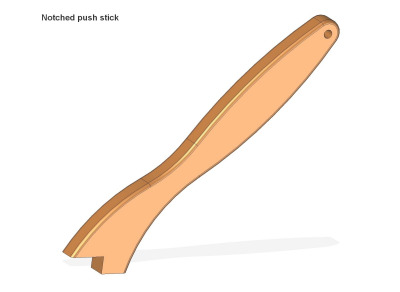
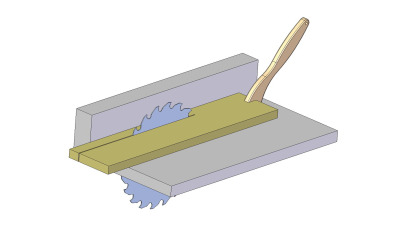
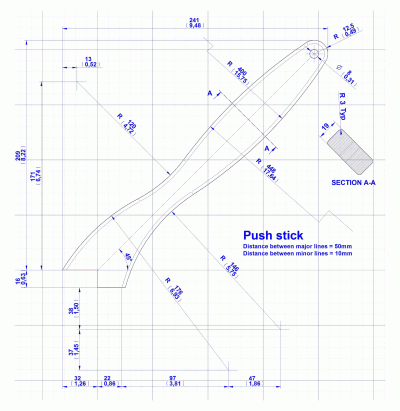
If you choose to design notched push sticks yourselves, you must take care that:
- the dimensions of the handle fit your hand (feel right in the hand) for good control and
- the angle between the push stick handle and the machine table is about 45 degrees
- notch of the bottom edge must be deep enough to support the workpiece.
Notched push sticks allow the woodworker to apply forward pressure, but their major disadvantage is a slight downward pressure. Therefore, avoid using them when a high downward pressure is required. When the workpiece dimensions allow you, always use a push block or a shoe style push stick which apply not only forward pressure, but substantial downward pressure as well.