This unusually adorable wooden stool/table set will definitely drawn attention of all the people that visit your home.
It can be good decoration to a terrace or big balcony, but most likely it will best fit in the children room. Probably every kid would like to sit on this set and enjoy its meal, draw or play games with friends, especially if you color it in some cheerful colors.

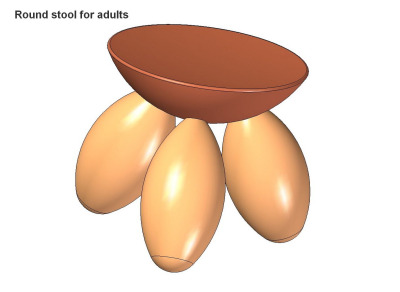
Round stool (Adult version): D 320mm (12.59'') x H 304mm (11.96'')
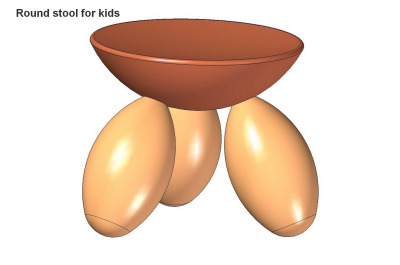
Round stool (child version): D 210mm (8.27'') x H 183mm (7.2'')
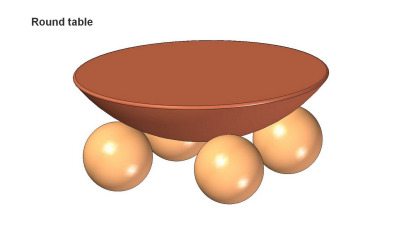
Round table: D 600mm (23.62'') x H 258mm (10.17'')
We got the idea to draw this plan when we saw an image of a similar seating set on the Internet. It looks even more beautiful in reality, especially as it is painted with various floral motifs. The construction of the stools and table is exactly the same, and the only difference lies in their dimensions. The shape of the parts is very similar and, again, the only difference is that the seat part has a concave upper surface as opposed to the top part (tabletop) that has a flat one. The only disadvantage of this project is that the parts are made on a lathe, which is not such a common machine in amateur workshops. For the production of parts a large number of wood types can be used, and we recommend that you choose some light-wood for easier manipulation, but to be as firm as possible to make the construction more durable.
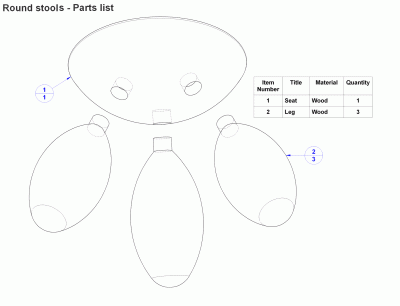
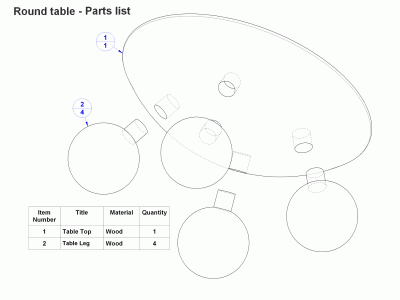
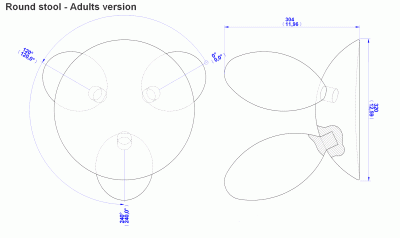
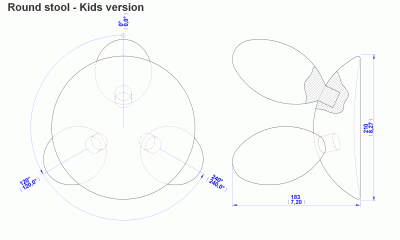
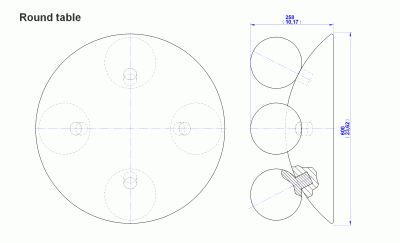
Craft the leg parts and holes where they need to be installed as precisely as possible, and before gluing, we recommend to dry fit all the parts together to ensure that the joints fit well and whether the top surfaces of the stools and table are horizontal. If not, first make the necessary corrections, make sure everything is fine, and only then glue the parts together. If you want this seating set to be placed in the garden, apply some quality waterproof coating to protect it from the elements, and do not make the seating surface of a concave shape so as to avoid retaining water after rain. If this seating set is intended for the children's room, then there is no need for such corrections in the plan.