If you like fixing things around the house, and your child or grandchild goes to primary school, why don’t you make them happy with an childs homework desk.
This way you will additionally motivate them to learn and provide them their own private corner where they will be able to do it in peace. A childs homework desk (schoolhouse desk, child desk-bench) like this is a kind of universal desk where a child can study, practice, do homework, draw ... We have adjusted the dimensions of the construction to children aged 7-12 but the fact is that, while the child is younger or smaller, the desk will be comfortable and spacious, and as it grows, the desk will be less and less comfortable, so the child will outgrow it at some point and won’t be able to use it any longer.
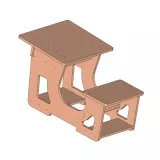
This project was drawn using the free 3D CAD software FreeCAD.
W 610mm (24'') x L 998.3mm (39 5/16'') x H 594.1mm (23 13/32'')
Definitely, children grow quickly, and they are of different heights within the same age groups, so if you think that your child is a little shorter or taller than the average, adjust the desk dimensions from our plan specifically to your child’s size.
We got the idea to make this plan when we saw a picture of a similar schoolhouse on the Internet. We liked its design, simplicity and the ability to make it quickly, especially if you have a laser cutter. And we really liked its functionality because, in addition to a seat and a large sloping work surface, the desk also has a footrest where the child can put his/her schoolbag; under the work surface there is a shelf for holding notebooks, for example, and under the seat there is some space for keeping books; somewhere on the side you can attach a container or box to hold pencils, erasers, etc. In other words, our schoolhouse has a slant top like the ones at school and roomy compartments for books, notebooks, schoolbag…
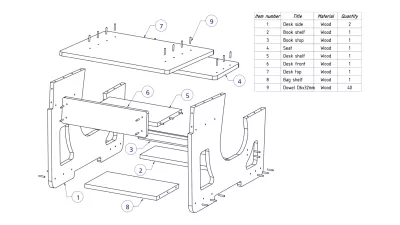
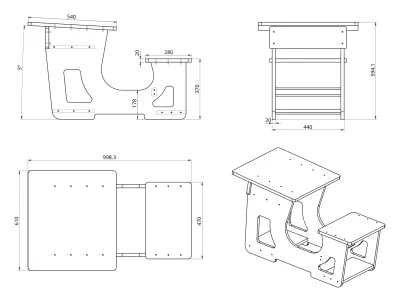
The desk is very simple as it consists of only 8 parts of which 7 are obtained by cutting from a 20mm thick plywood board.
You can cut the parts on a band saw machine, with a jig saw or a laser cutter. If you have a laser cutter that cannot cut a 20mm board, cut 2 identical pieces half as thick and glue them. According to our plan, the parts are connected with dowels, but you can also use fasteners, biscuits or various woodworking joints instead.
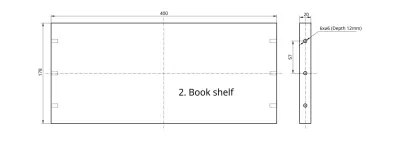
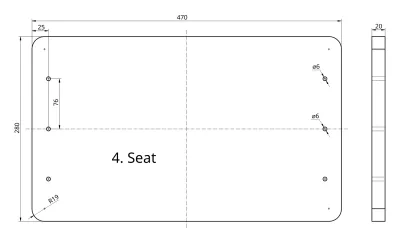
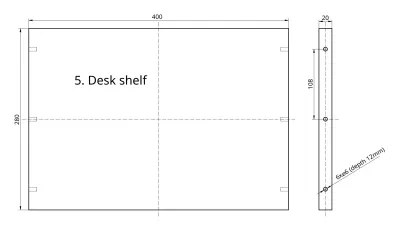
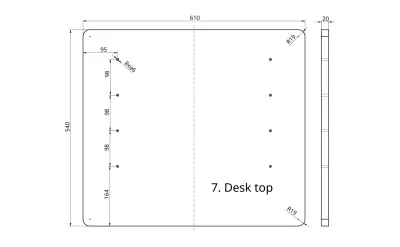
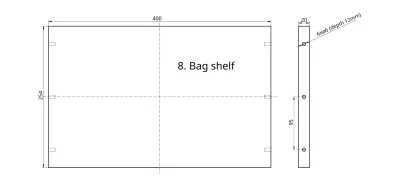
For those of you who have a laser cutter, we have made available the contours of each part that are downloadable in 2D CAD (dxf) or vector (svg) format. If you want to make the parts using classic carpentry machines, then download high-resolution images with drawings of all the parts that this desk consists of.
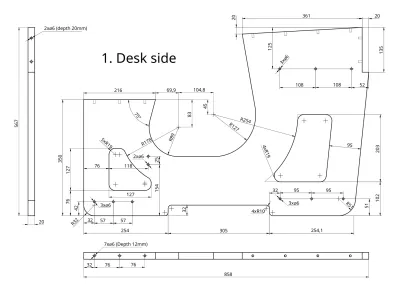


Exploded view - Animation
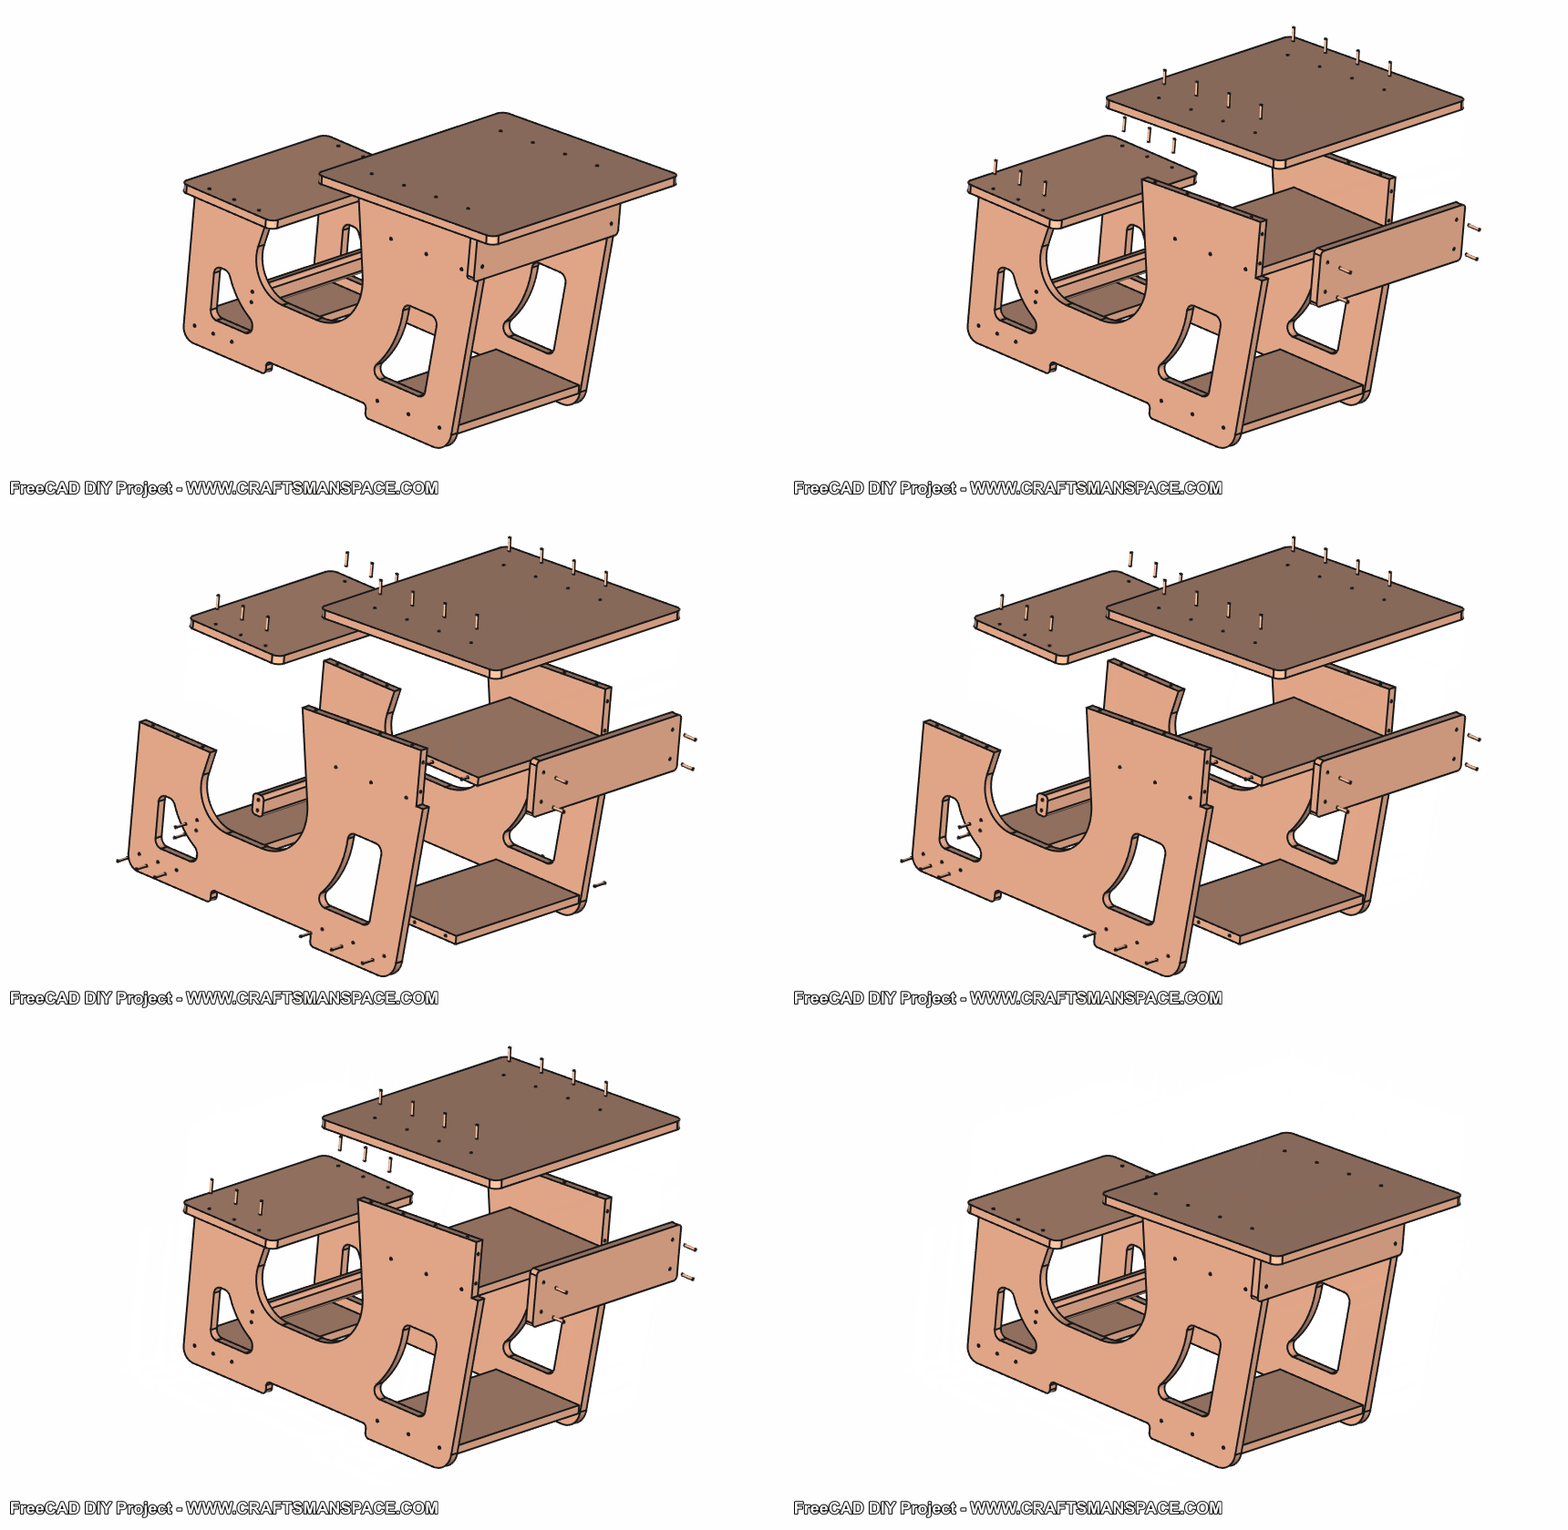
A 3D models (parts and assembly) are also available, so if you know how to use some 3D CAD software, you can use these 3D models to redesign the desk, i.e., customize our design and make your child the schoolhouse desk you want.
The 3D models (parts and assembly) were created in FreeCAD 3D CAD software. I used the following workbenches: Part design, A2Plus, Techdraw, Exploded assembly and Spreadsheet.
The entire project was done in the metric system of units. If you need the project in the imperial system of units, open the 3D models in FreeCAD and change the units in the menu Edit/Preferences.