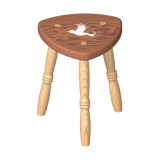
This tripod stool is a very good project for beginners, and it is a piece of furniture that will prove very useful after it is made.
The construction of this stool is both simple and durable, and it requires little space in the room to accommodate it. This tripod stool plan may easily be changed in dimensions to suit some individual need. The workman may design his own outline for the seat (Part 1). The decoration on Seat (Part 1) is suggestive only.

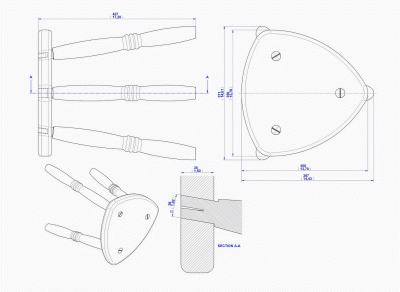
The stool is 367 mm (14.43'') long, 371 mm (14.61'') wide and 437 mm (17.20'') high.
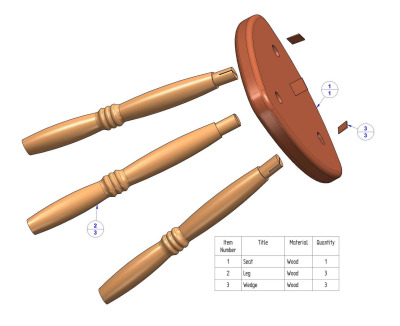
The stool should be made of some kind of hard wood, preferably walnut, maple or birch. Because the legs (Part 2) are so long, they should be made out of knot-free stock.


How to make a tripod stool
- Make list of materials. The size of the different pieces may be taken easily from the drawing.
- Select the stock.
- Cut all parts to overall size, according to the List of Materials.
- Using your scroll saw or bandsaw, cut out the contours for the seat.
- Turn legs on a wood lathe
- Make round mortises on seat.
- Make round tenons on the legs to fit the mortises in the seat.
- Clean and sandpaper all parts well before assembling.
- Fit all pieces together before gluing to avoid errors.
- Glue and clamp pieces together.
- Apply the finish of your choice.