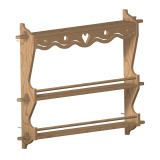
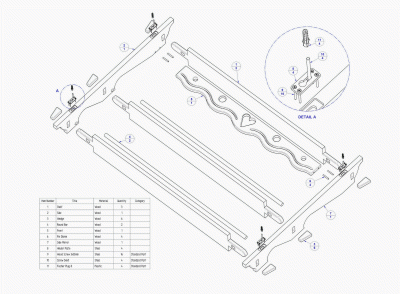
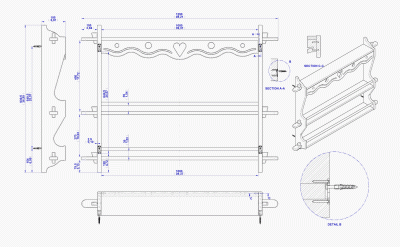
If you need a free woodworking plan to create a quality shelf, on this page we present one to help you build a wall shelf with a vintage look.

This wall shelf, when completed, takes up a wall space 1250mm (49.21'') wide by 939.5mm (36.99'') high, and extends out 150mm (5.91'').
This plan can serve as a starting point for creating a different shelf according to your taste and dimensions that suit you. If you carefully study the plan, you can easily:
- - make a wider or narrower shelf - increasing the width can lead to sagging of the shelf due to the weight of the items on it if you don’t increase shelf thickness or use a better quality wood to make it from; increasing wood thickness should be handled cautiously because it can negatively affect the proportionality and aesthetics of the shelf;
- - add or decrease the number of shelf levels;
- - reduce or increase the vertical distance between shelves;
- - increase the shelf depth;
- - decorate shelves as it suits you;
- - use a different way of joining the shelf to the sides


The wood you use depends on the purpose of this shelf. If you want to keep heavy objects on it, we recommend hardwood, if you don’t, then softwood is also fine. You can fix the wall shelf in various ways, and we have suggested just one in our plan .
As you can see in the picture, the shelf is nice looking and stable, and it possesses antique charm and a functionality that has been tested throughout history. All this guarantees that the making of such a shelf is cost-effective. You can place it in any room in the house, and the only disadvantage is that it matches only classic, vintage design of other surrounding furniture pieces.