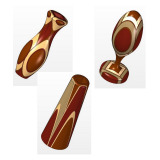
The wooden objects on the images below are just the three examples of the endless possibilities to achieve some interesting woodturning patterns and shapes of decorative wooden rotational objects.
By joining the different types of wood with glue, then honing it with cutter, you can get beautiful turned wood objects with various colors and textures, which could not be imitated by any paint. We offered you one wooden egg plan and two wooden vases plans. There are many possibilities, while the beauty of the finished object depends only on your skill and your imagination. The way of manufacturing these kinds of decorative objects is always the same and you can learn about it in the following text.
One of the most important requirements is to select good and dry wooden slats, which need to be processed accurately to a desired dimensions. You can use various types of wood for this kind of wood turning (ash, birch, cherry, maple, oak, walnut, ebony, mahogany, etc.) and get the full accent of their beautiful textures and colors by making careful combinations. If you make the good choice of wood, process it well and use some quality glue for joining the wood together, you will avoid unwanted stucking of lathe knife into the glue hollows, gaps, rough spots, etc.
INSTRUCTIONS
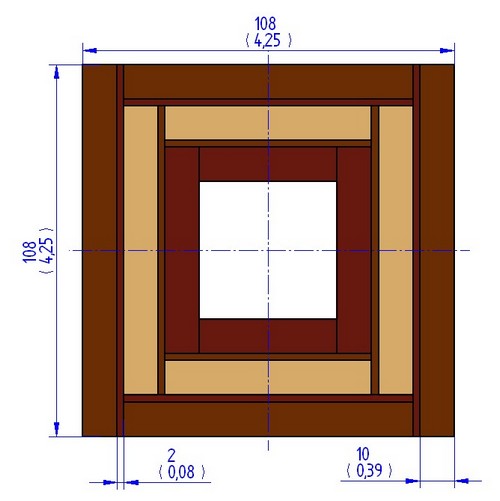
Use glue to join the four boards of same dimensions – length 300 mm (11.8 inches) – forming a hole in the middle (as shown on picture). The hole dimensions should be 40 x 40 mm. Keep the glued boards in woodworking vise until the glue dries out.
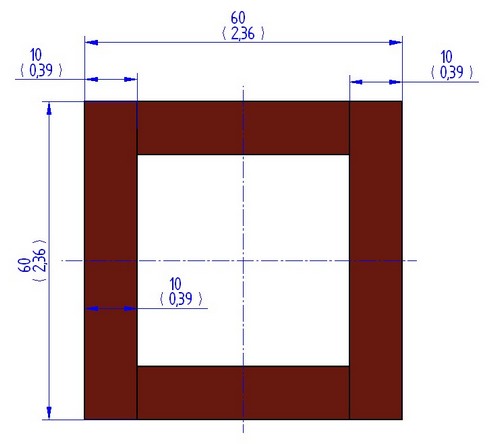
Join another four boards with glue in the same way, then keep the whole structure in woodworking vise until the glue is dried out.
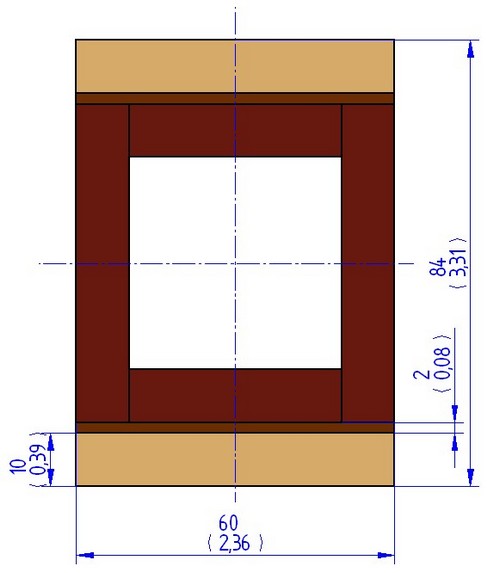
The same procedure goes for making the next levels of boards (follow the pictures). The only limit of your wood levels is the maximal diameter that you can achieve with your lathe, i.e. the maximal diameter on your lathe should be larger from the diagonal front of the glued boards.
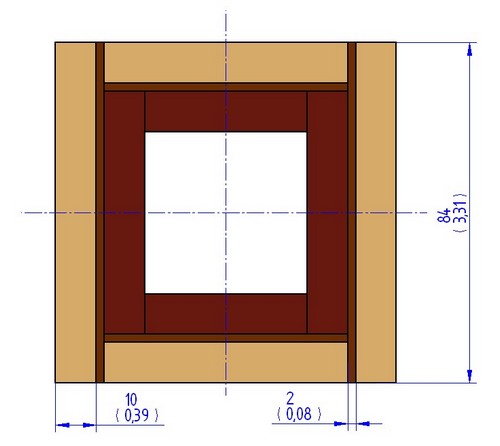
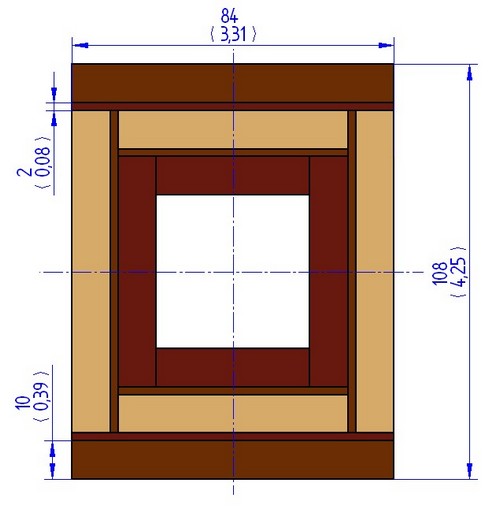
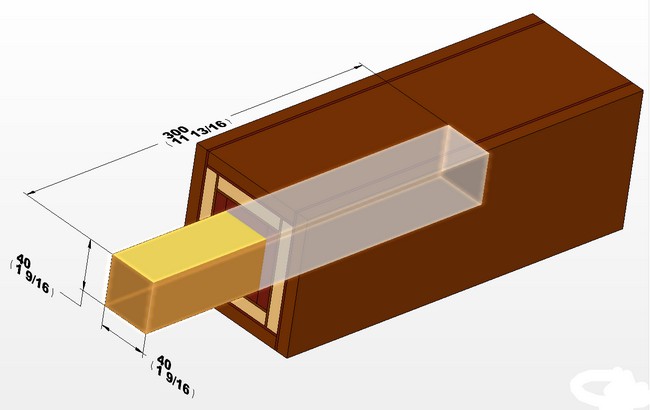
When you finish joining the boards with glue, and the glue is completely dry, put one board (dimensions 40 x 40 x 30 mm) in the middle of the whole assembly – this board will enable to fixate the whole structure into lathe.
Tighten up this wooden assembly into lathe and cut it by the desired curve.
Examples
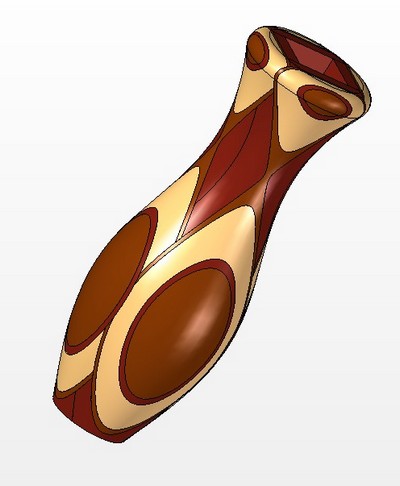
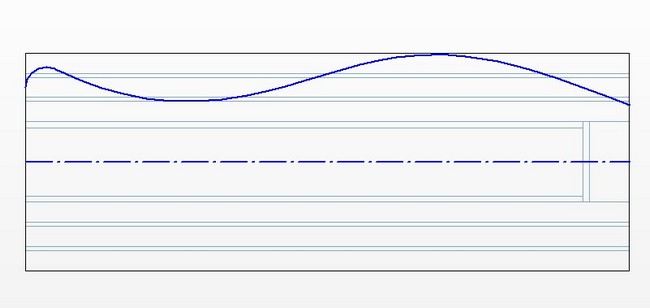
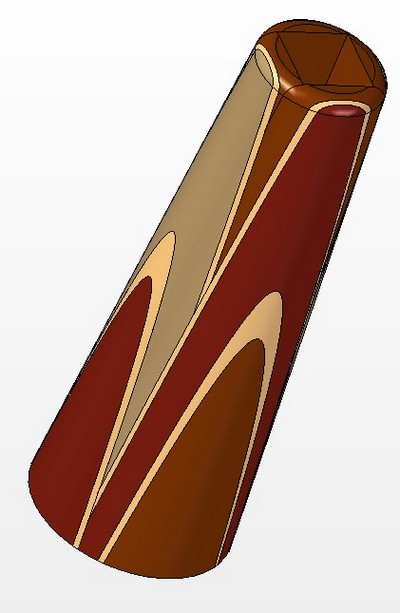
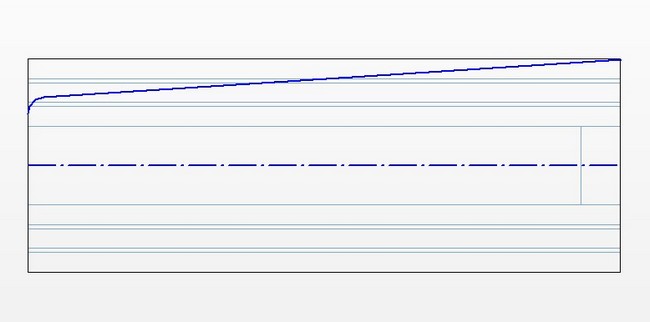
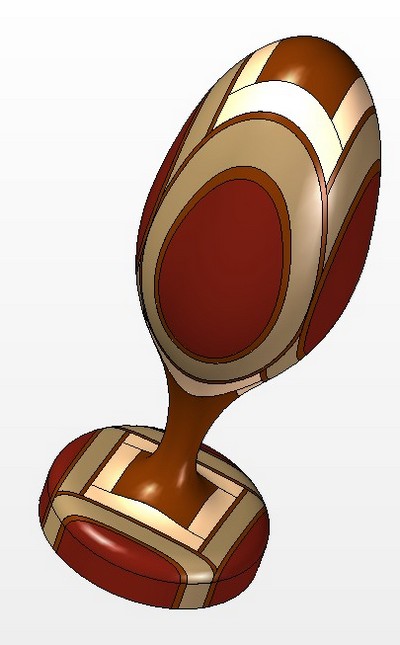
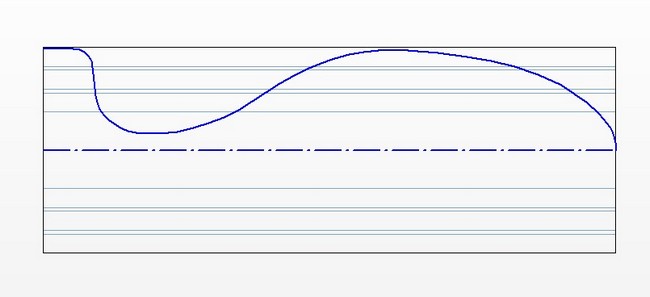
When you form a wanted shape of your object with lathe and cutting, make another wooden part (dimensions 40 x 40x 20 mm), which will be a pedestal, and attach it with glue to the bottom of an object. (This is not necessary for an object shown on Example 3.)
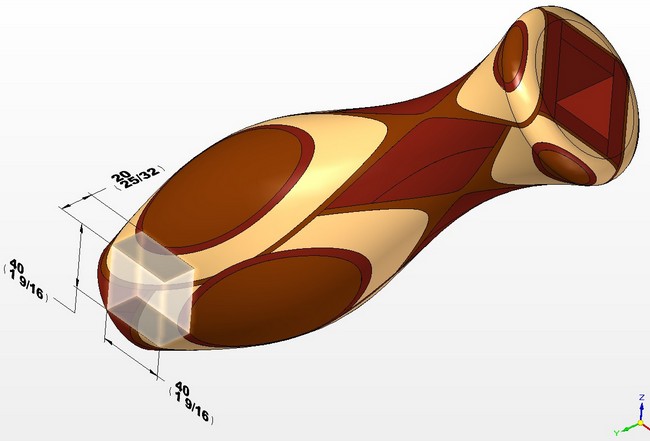
Wooden vase
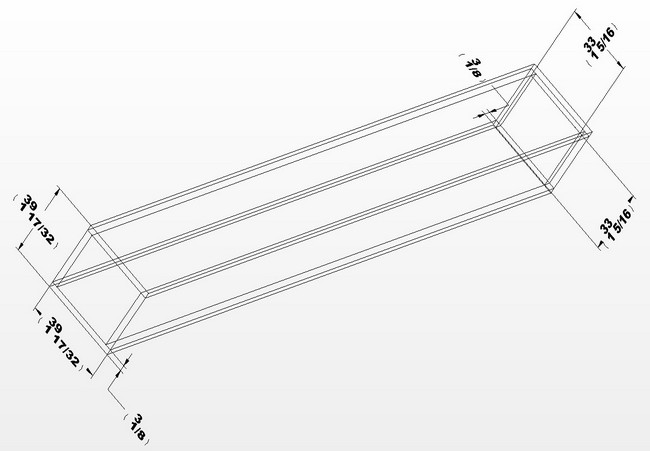
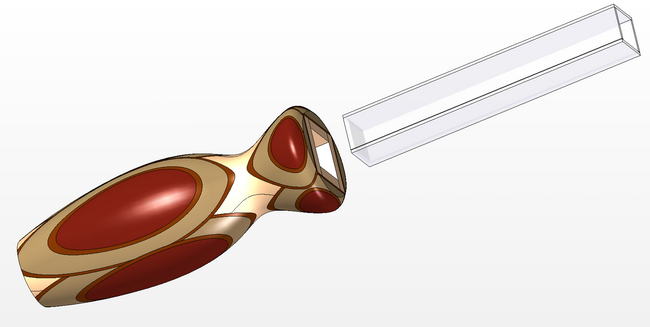
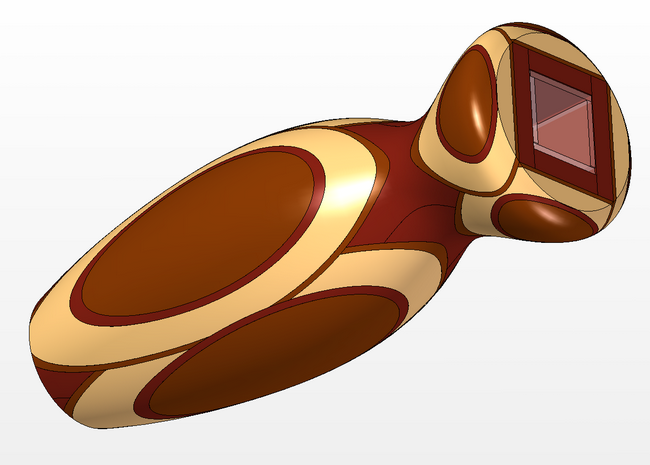
Cut the 2 glass sheets (dimensions 39 x 280 x 3 mm), 2 glass sheets (dimensions 33 x 280 x 3 mm) and 1 glass sheet for the bottom of an object (dimensions 33 x 280 x 3 mm). Join these sheets with silicone or some other adequate material. When you form this glass jar, you should check out if it leaks, then place it in the middle of the wooden vase.
