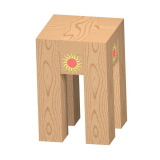
Here we are presenting a woodworking plan that will allow you to make a simple and practical stool that we named the Timber stool.
This design for a stool has the following qualities which should recommend it to your attention. It is durable, practical and inexpensive. This massive timber stool is a thing of beauty as well as an object of real practical value. Since it has many flat surfaces, it can be decorated with some decorations (chip carving, bas-relief, paintings...) of your choice to accommodate the home decor.

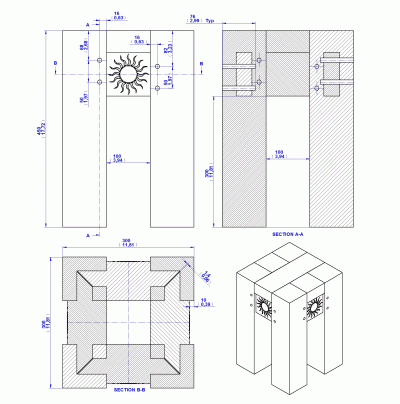
The stool is 300 mm (11.81 in.) long, 300 mm (11.81 in.) wide and 450 mm (17.72 in.) high.
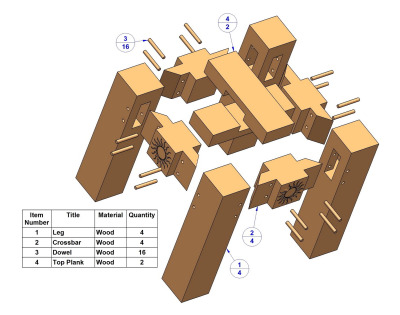
There is no need to copy this design carefully; once you understand the principle you can simply adjust it to suit your specific requirements. The drawings show how the parts are made and fitted together.


The making of the mortise and tenon joint (reinforced with dowels) may be learned thru this free woodworking project. This stool can be made of either hard or softwood as its design produces a very solid construction.
How to make a timber stool
- Make list of materials. The size of the different pieces may be taken easily from the drawing.
- Select the stock.
- Cut all of your stock to size, according to the List of Materials.
- Make mortises on legs.
- Make the tenons on the crossbars to fit the mortises in the legs.
- Clean and sandpaper all parts well before assembling.
- Fit all pieces together before gluing to avoid errors.
- Glue and clamp pieces together.
- Mark the location of all holes to be drilled. Drill the holes.
- Cut dowels to length and glue in holes.
- Apply the finish of your choice.